How To Polish Silver
Tips & Tricks To Make It Easy
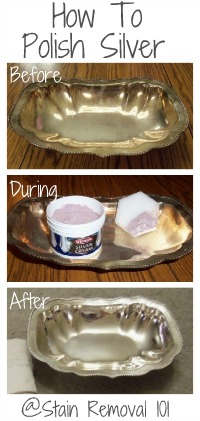
Here are instructions for how to polish silver, to make it easy while still making sure you do it correctly.
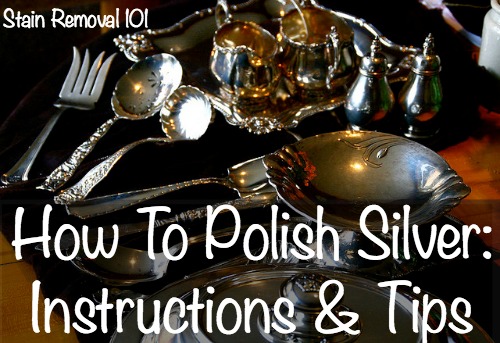
The first thing you've got to know when polishing silver is what you're trying to accomplish.
Getting Rid Of Tarnish: Silver Sulfide
The goal when polishing is to remove the tarnish from your silver pieces, so that they can again have that beautiful almost rosy lustrous glow clean silver has.
Tarnish is a naturally occurring chemical reaction on all types of silver, where the silver on the surface has a chemical reaction turning it from the pure element silver, into silver sulfide, the black stuff which gets all over your good serving pieces that you've not used for a while.
Making Sure Your Methods Are Safe When You Polish Silver
Silver is actually a very soft metal, and can easily scratch if too harsh of treatments are used on it. You don't want to accidentally scratch up your good silver while trying to beautify it, so use caution and care as you work.
Never use stiff brushes or rub too hard when polishing silver, for example.
Further, each time you polish silver you're actually wearing a thin layer of it off!
That means you don't want to polish it too frequently, and you want to stop once the tarnish is removed, and not keep polishing away a thicker layer than necessary.
You need to be especially careful when polishing items that are just plated with silver. Silver plate means these items just have a layer of silver on top of another base metal. Sterling silver, on the other hand, is mainly silver (with other metals mixed in for hardness) all the way through.
Therefore, when you polish silver plated items, once you've removed the thin layer of silver its gone for good and must be replated.
Finally, realize that the dark lines in lots of ornately decorated silver, which are created through the tarnishing process, are actually meant to stay that way. That is what gives contrast in the piece, so don't remove that tarnishing or your piece won't have the same beauty it is designed to have.
How To Polish Silver: The Mechanics
With all that in mind, it's time now to learn how to polish silver. Fortunately, the process is quite easy.
First, gather the right tools together, which will include:
- Silver polish
- Old towels
- White cotton gloves (optional)
- Polishing cloth (such as 100% cotton flannel)
- Soft cotton cloth for buffing
- Soft old toothbrush
Gather the silver item(s) you want to polish and lay down the old towels onto the table to cushion the surface so while you're polishing. These old towels will keep you from accidentally banging the silver onto the hard surface of the table and causing a dent in your silver piece.
If you don't want your skin to come into contact with the silver polish wear gloves. You cannot wear rubber gloves for this process though since latex or rubber gloves actually have chemicals within them which cause tarnishing. Therefore, if you wish to protect your hands through the process wear white cotton gloves.
Wearing such gloves has the added benefit of protecting the silver from the dirt and oil on your hands which also can cause tarnish.
Next, inspect the piece of silver you're going to polish, in the light, to see if it has any previous polishing patterns.
Even gentle polishing can leave a pattern or mark in your silver since, as I explained previously, it is a soft metal. That means you want to use the same pattern again, if you can detect one, so you stay consistent.
Once you've determined the pattern (if any) for how to polish your silver, add your silver polish to your polishing cloth and begin rubbing the silver lightly. Typically, you'll want to rub in a circular pattern for most items, except flatware where you'll rub lengthwise.
For tight areas and corners you can use an old toothbrush wrapped in the polishing cloth to apply the polish. Be sure to be very gentle so you don't scratch the silver in the process, or ding it with the toothbrush handle.
Further, remember what I said above about purposefully not removing all the tarnish from ornate patterns in your silver, to keep the pattern showing as it's designed!
As your polishing cloth is used, it will get pretty gross and dirty from all the tarnish that is being removed. Be mindful to move to a clean area of the cloth often to keep from scratching the surface of the silver with the dirt and tarnish you're removing.
Once you've finished polishing the piece, the final step in how to polish silver is to rinse the piece to remove all of the polish left on the surface. This is especially important for any items used to serve or eat food, since you don't want to ingest any of the polish.
Once the item is thoroughly rinsed you've got to also dry it thoroughly, to prevent retarnishing and water spots. You'll use a soft cotton cloth to dry it, and then another dry cotton cloth to buff the polished silver to a rich shine.
What Silver Polish Should I Use?
There are all types of products on the market designed to clean and polish your silver items from polish, dips, creams, cleaning gloves and rouge cloths, etc.
Frankly, it can be a bit overwhelming trying to figure out what products work well, and which don't, especially since your silver is not something you want to experiment on.
I totally get that problem. That's why I've started collecting silver polish reviews here on the site, so you can read experiences from other SR101 readers that can help you make a better decision and more informed decision about which product to use before you even begin.
In addition, if you have a favorite product you use (or had a bad experience with a brand or type), please click the link above to share your review with me to help everyone else find the best product for their needs.
Green Cleaning Tips For How To Polish Silver
Do you like to clean items in your home naturally, without lots of extra chemicals? There is good, and bad news for you in regard to how to polish silver naturally.
First, the good news is that there are a couple of natural methods for cleaning silver that can work. For instance did you know that you can clean silver with baking soda? In addition, here is an additional homemade silver cleaner recipe.
The bad news is that these methods may not be as effective as you would like, especially on highly tarnished items. If you're really serious about keeping your silver polished naturally the best prescription is actually to use your silver pieces often, since constant use inhibits tarnishing in the first place.
Do You Have More Tips For Polishing Silver?
Although these are my tips for how to polish silver, there are typically lots of good ways to accomplish any cleaning or household task, and this is no exception. That's why I'd love to hear your tips and tricks, or what methods you've used.
You can share your tips for polishing and cleaning silver here. You can also click this link to read other tips from around my website that other readers have already submitted about how to polish silver.
Further, this post is part of a series called "How to Clean Anything, Even if You're Not June Cleaver." I hope this series will become a good resource for you, with instructions on many different cleaning projects around your home.
Want More Inspiration For Your Dining Room?

I'm honored to be part of a great group of blogging ladies who all discuss topics from around our homes. Each month we choose a different room as our theme, so we can all get some inspiration in this area of our homes. We call it the Room by Room Inspiration for Every Room in Your Home.
This month each of us is discussing some aspect of the dining room. Please check out these other great blog posts from the group:
- Jami from An Oregon Cottage shares her Dining Room Before and After
- Christine from I Dream of Clean is discussing Cleaning Off the Dining Room Table: It Does a Body (and Family) Good
- Lauren from Mama's Laundry Talk is discussing the washing and care instructions for table linens; and
- Nony from A Slob Comes Clean shares her thoughts on keeping the dining room under control
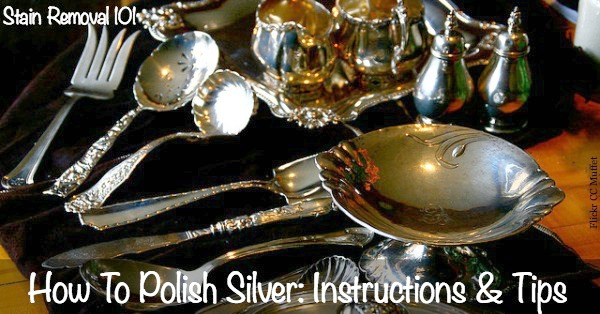
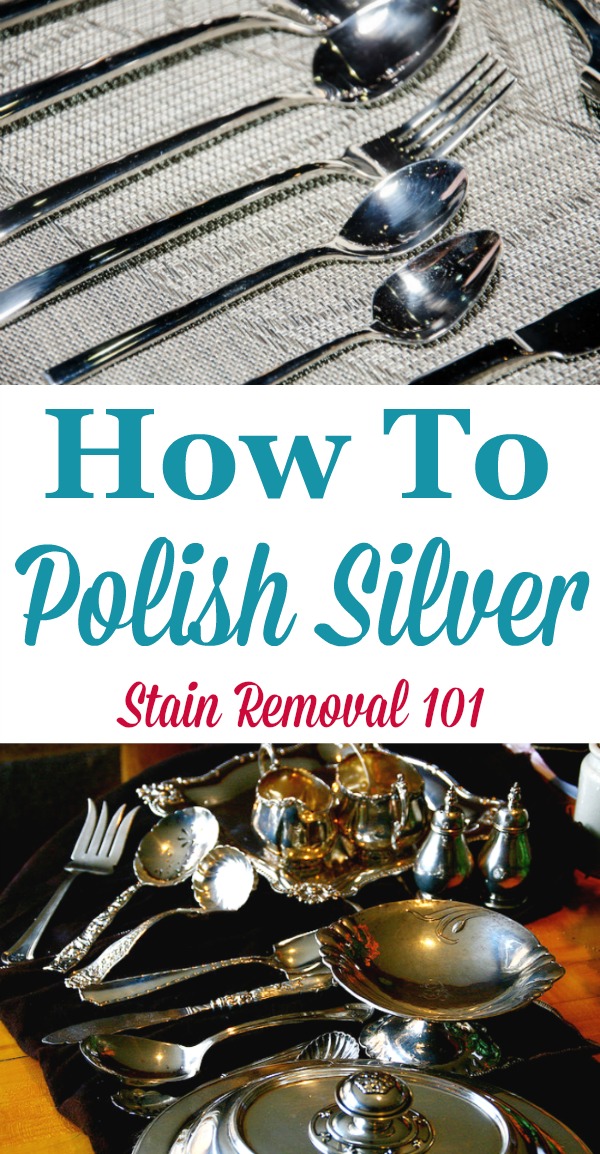
Top photo courtesy of Muffet
Thanks For Visiting My Website: Grab Your Free Gift!

Hi, I'm Taylor, a busy mom with 3 kids, so I have lots of hands on experience with house cleaning, laundry and my fair share of spots, spills and other messy catastrophes. Thanks for visiting my site.
I update the website all the time with tips, tutorials, cleaning recipes, reviews of products from readers like you, and tests I've done on various cleaners, removers and laundry supplies.
I'd love to give you a gift! When you subscribe to my free weekly newsletter you will receive a free printable laundry stain removal chart that you can reference as needed.
I hope you enjoy this gift, and stop by again soon!
Related Pages You May Enjoy
How To Clean Anything Even If You're Not June Cleaver
Go From How To Polish Silver To Home Page
There are affiliate links on this page, and if you purchase a product through them I receive a small commission. Purchasing through my links costs you nothing extra, but helps support the free information provided on this site and my family. To learn more please see my product review disclosure statement.
CAUTION: This website is provided for informational purposes only. It is provided as is, without warranties or guarantees. Some stains and messes just won't come out, and are permanent. Further, some cleaning methods can harm your item, so if what you want to clean or launder is sentimental or expensive call a professional. See disclaimer of liability for more information.
Popular How To Clean Articles
Let's Stay Connected!
Get Free Email Updates
(and get a FREE printable)
Related Pages
 Green Cleaners: Which Brands Work Best?
 Make Your Own Cleaning Products
 Visit Household Management 101
 Visit Home Storage Solutions 101


Share Your Comments, Tips & Ideas